This article will walk you through how to create a blog post and how to add it to your funnel or website.
Step 1: Create a Blog Post with Settings and SEO details
- From Sites > Blogs
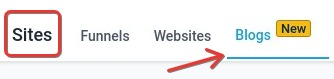
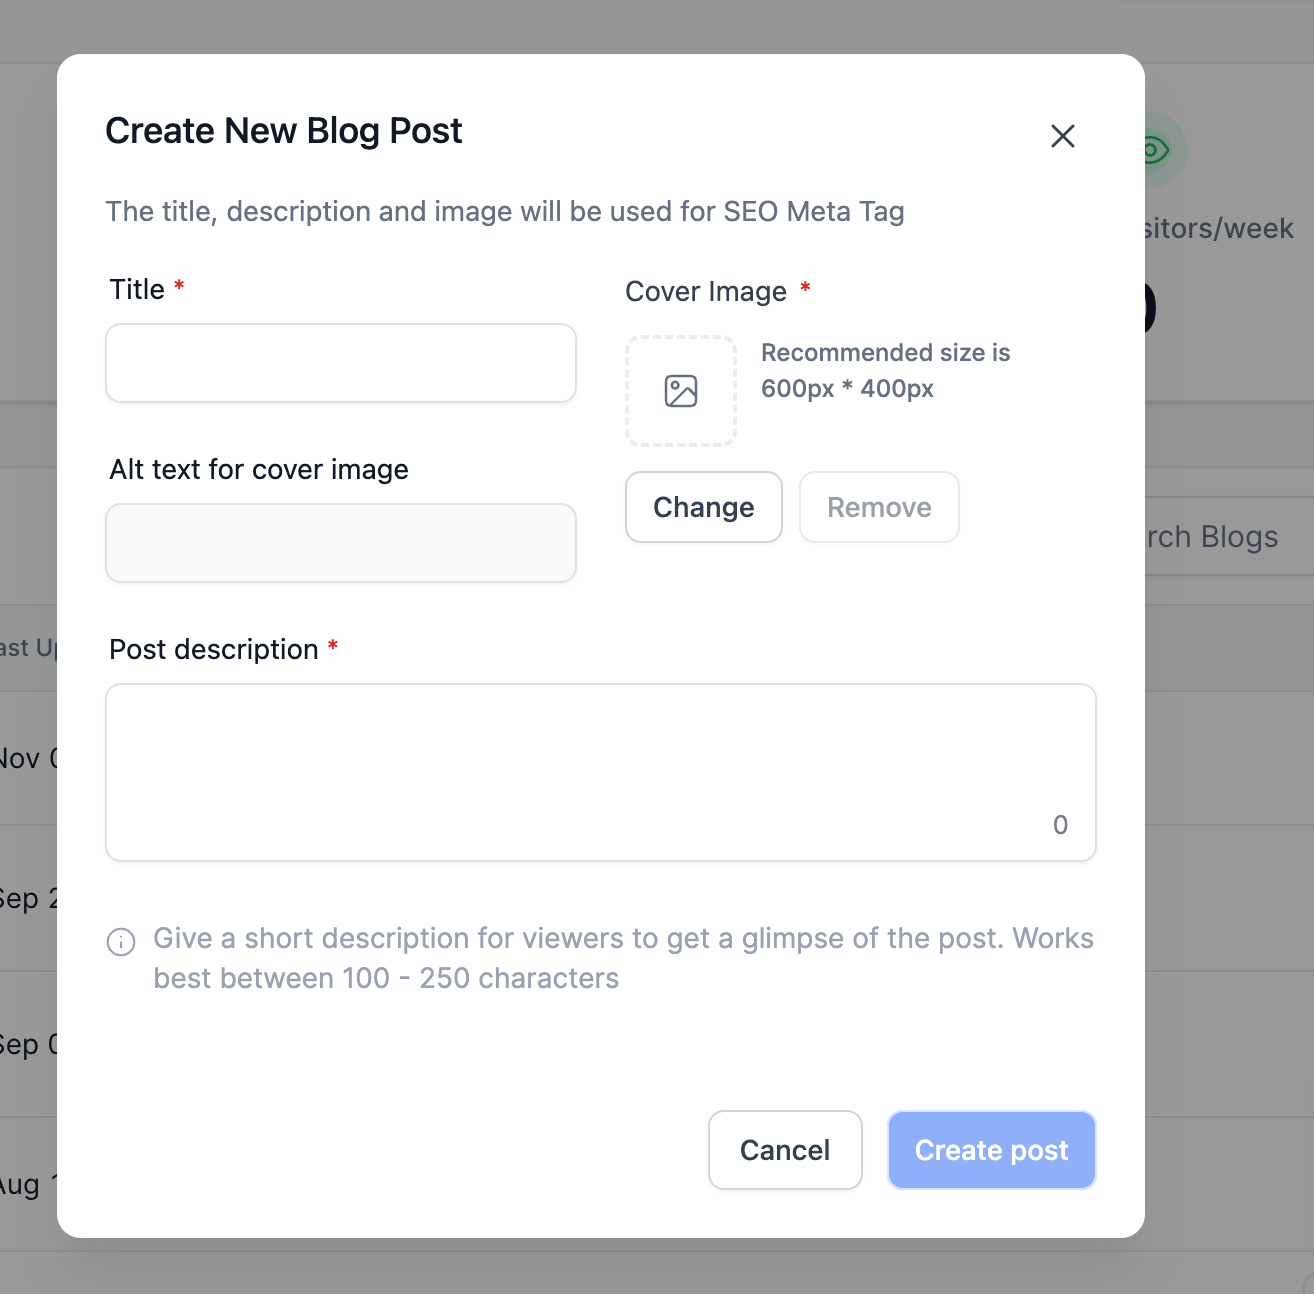
- Create a New Blog Post with a Title, Description, and a Blog Post image
Note – The image size allowed is 10MB

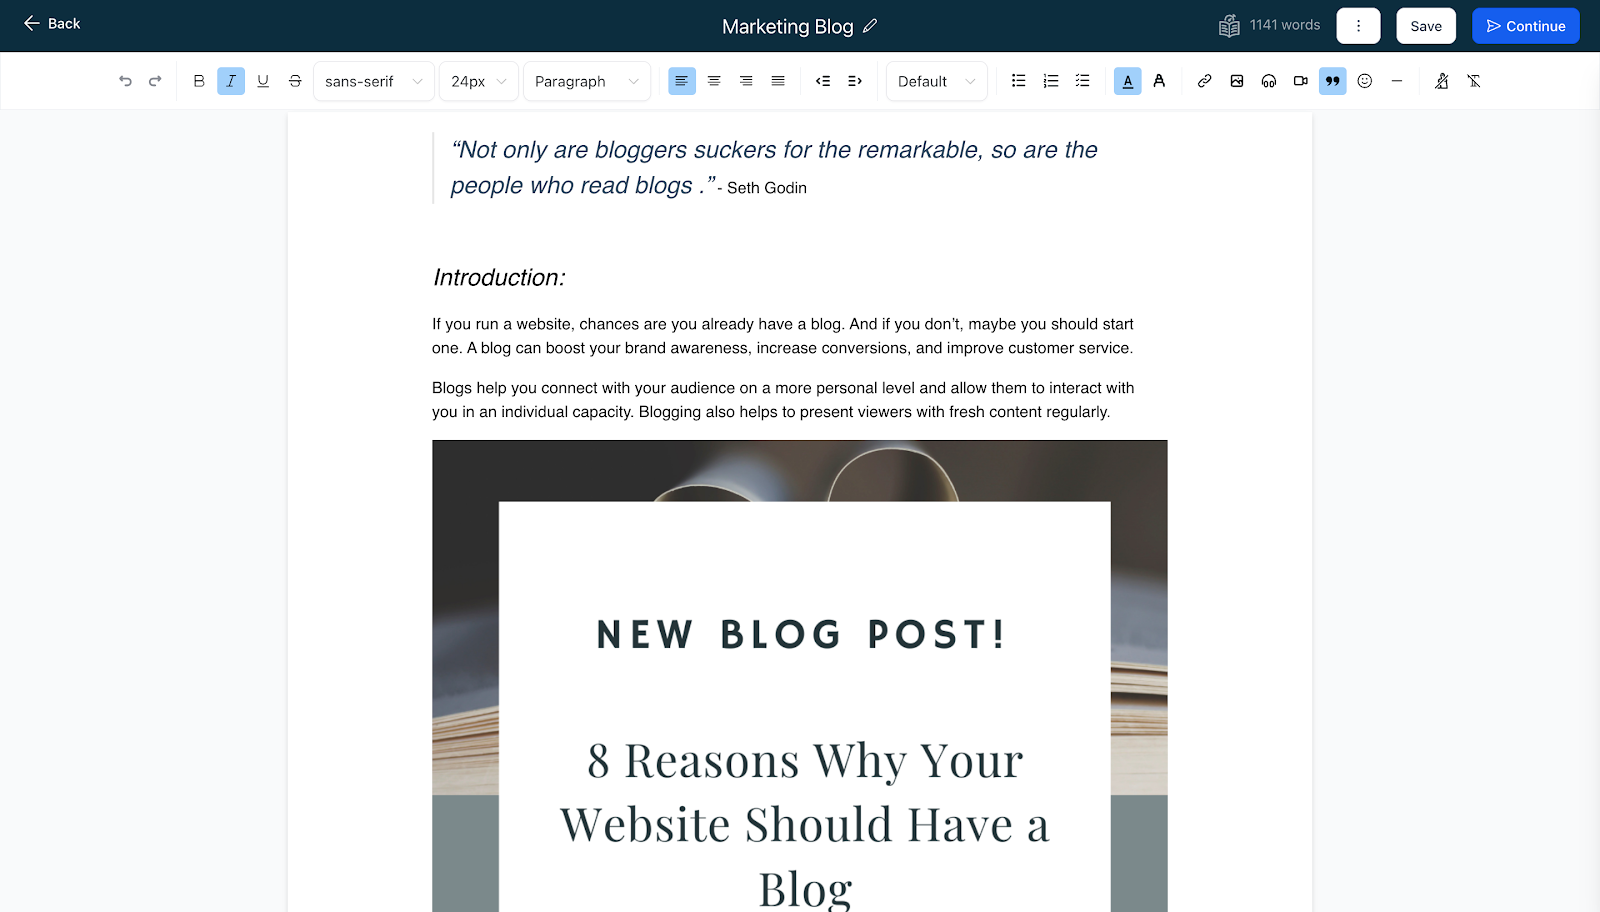
2. Add the content for your blog post using the editor toolbar
- You can add styles with bold, italics, underline, strikethrough text, fonts, styles, size
- You can add an indent, number list, bulleted list, or to-do list
- You can add color and highlight
- You can add an image(s), or video(s) from the Media Library and YouTube and insert hyperlinks
- You can add quotes for specific content
- You can clear a specific format or format everything

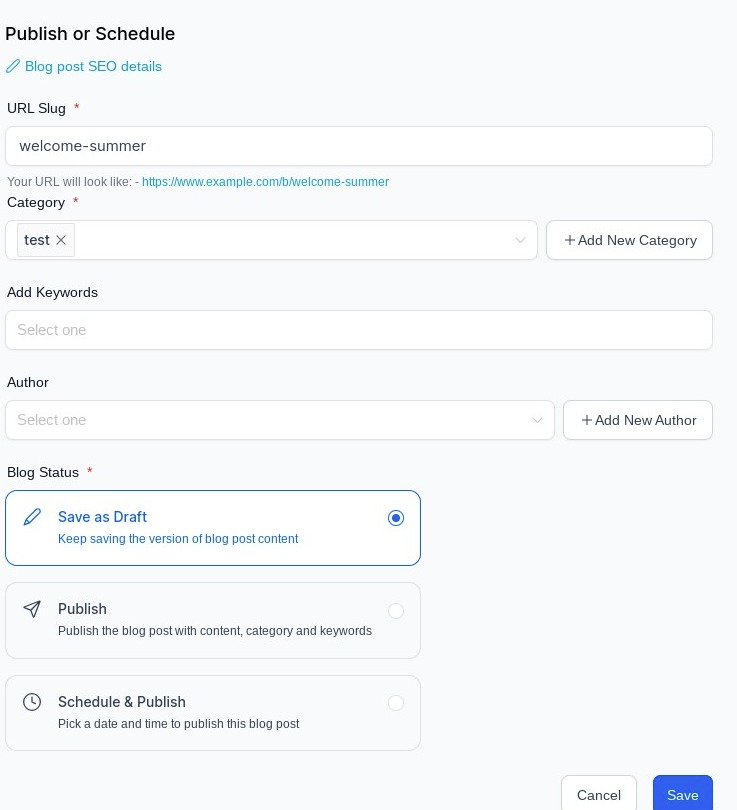
3. Following by adding the content, you will be required to set up the details
- URL Slug – This will be the path for your blog post
- Category (this is set up in blog settings)
- Keywords
- Author (this is set up in blog settings)
- Once the blog details are reviewed then you can publish them with the specific past date or save them by keeping them in draft
Step 2: Add a Funnel or Website with the Blog Post List element
Please Note:
This funnel or website page is going to be your main Blog page which contains all your blog posts that have been added in the Blogs section.
1. Create a new Funnel / Website or add a step/page to an existing one
2. Once the funnel step is added, go to the edit button to land on the editor

3. Click on the element named Blog Post List
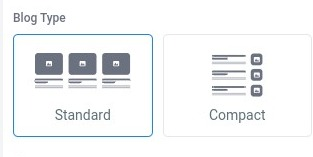
- Choose the element and type of layout between Standard and Compact
- Pagination refers to the number of blog posts shown on the landing page

Please Note
Adding a Category Navigation menu and Footer links to your main blog page is recommended. You can rename the ‘More stories’ button

The “Blog Post List” element has several options. Blog type allows you to choose between “standard” or “compact“, the Pagination settings allow you to select the number of blog posts visible on the page and the button options allow you to edit the button text
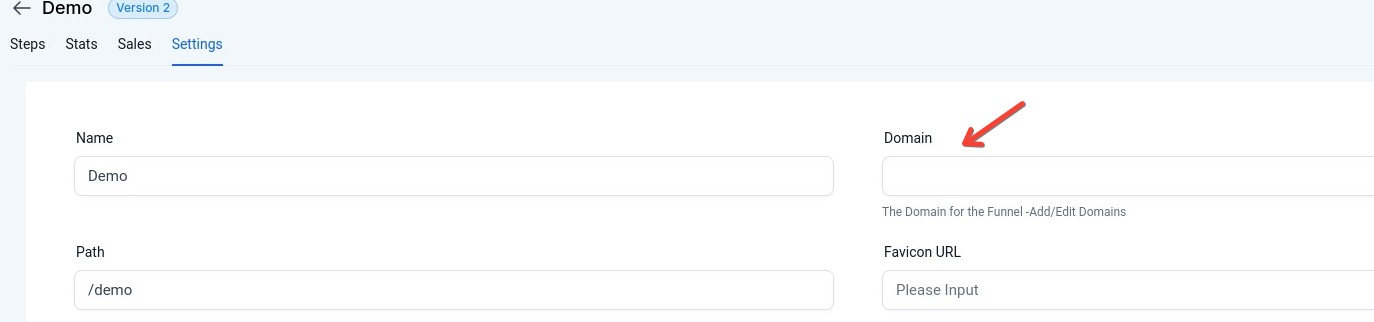
4. Add domain to the site from Funnel / Website Settings, if it is not already added
5. If you want the blog page to open when you enter your domain without any path
For example: blog.mydomain.com instead of blog.mydomain.com/home – Go to Settings > Domains > Edit Domain > Select the blog page as Default Page.
Please Note:
Category, Keywords, Author, and Slug CANNOT be updated after the blog has been published. The developers are working on a solution that will be released soon.