Custom Fields allow you to create contact specific fields that contain specific information about that contact. These allow you to add to the Standard Fields and gather whatever type of information you require.
Step 1: Create Custom Fields
- Navigate to Settings > Custom Fields > All Fields
- Click “Add Field”
- In the Pop-up, you will have options of what kind of custom field you are wanting to create
- Choose from the Types of Custom Fields.
NOTE: Once you create a custom field, you cannot edit the field type. To change it, you will need to delete the field and create a new one.
Types of Fields:
- Text – One-line Textbox Field
- Large Text – Multi-line Textbox Field
- Numerical – Number Field
- Phone – Phone Number Field
- Monetary – Monetary Field
- Checkbox – Multi-option Checkbox Field (multiple options can be chosen)
- Single Options – Dropdown Option Field (only one option can be chosen)
- Multiple Option – Dropdown Option Field (multiple options can be chosen)
- Radio – Radio (circular) Button Option Field (only one option can be chosen)
- Date – Date Field
- Textbox List – Textbox List Field
- File Upload – Allows Files to be Uploaded (or required) with submission – Files allowed include PDF, DOC/DOCX, JPG/JPEG, PNG, GIF
- Signature – Signature Field
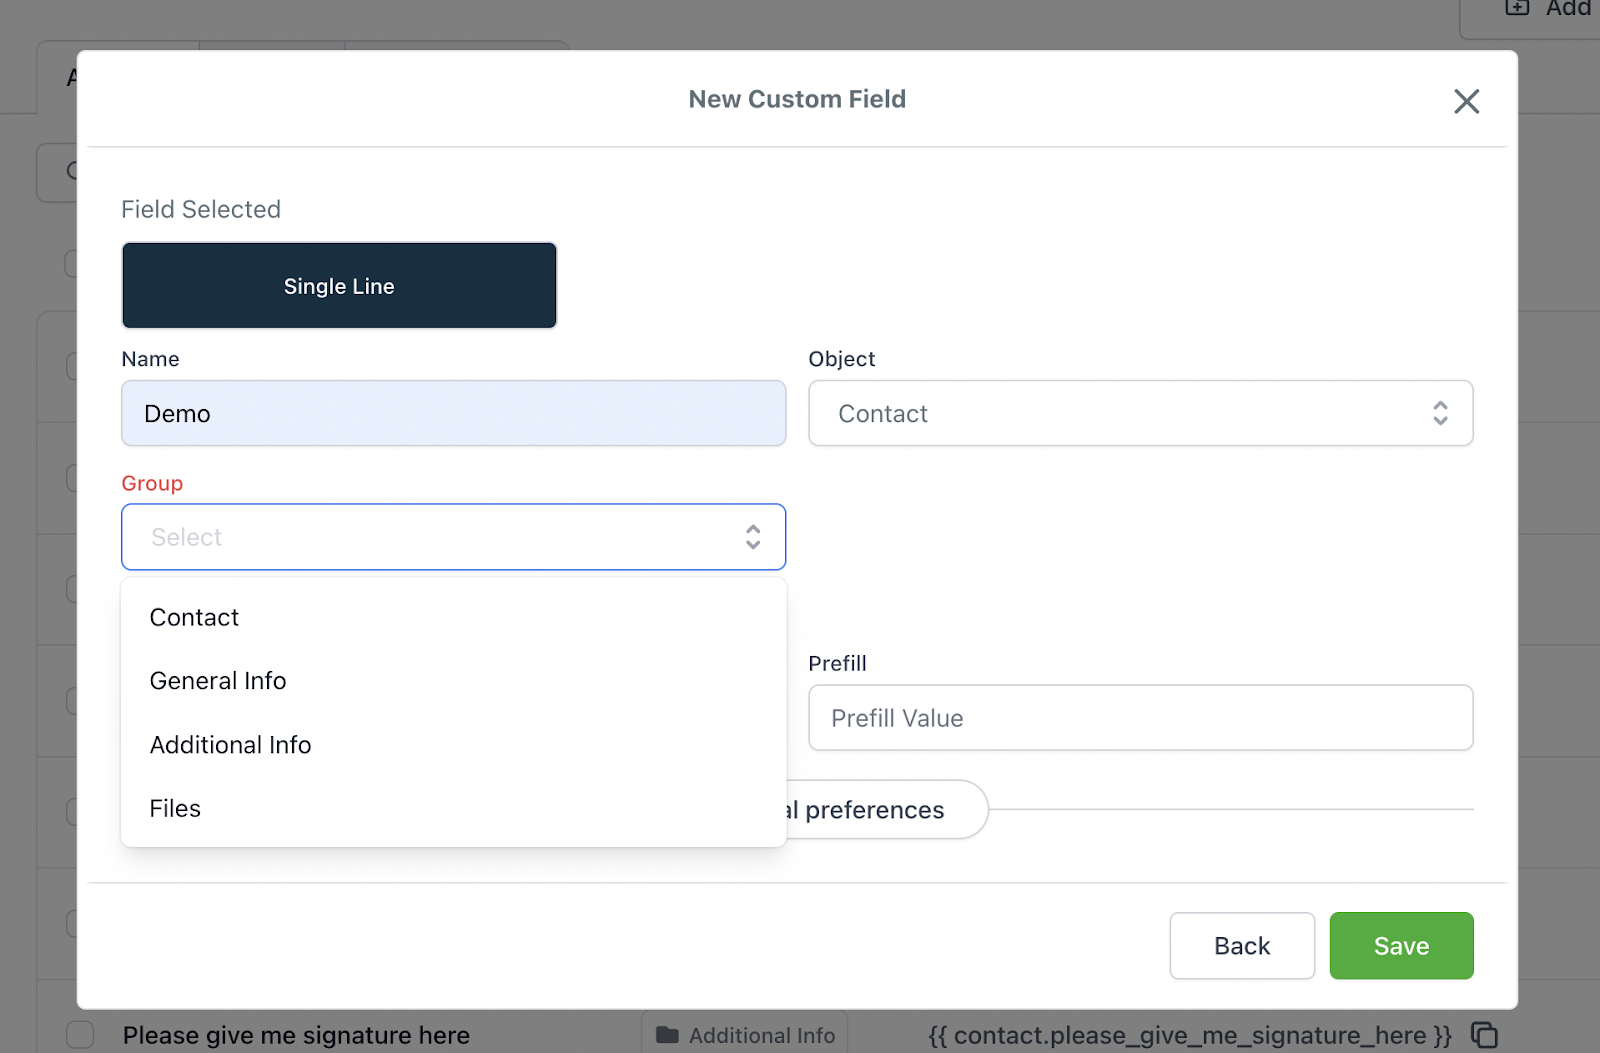
- Enter the Name of the Field.
- The Name of the Field is what you will see in the contact profile. This is also what will show on the form/survey if “Show Label” is enabled.
- Enter the Placeholder. Placeholder is what will show in the box (specifically for text or other manual entry fields) in a form/survey.
You can add this to a specific folder group. When entering the information for this field, there will be a dropdown for “Group”. This is where you can select which folder you want this field to be organized into.
- Enter any other applicable information for the field
Step 2: Utilize Custom Fields
- Drag and Drop From the Custom Fields Section of Form or Survey Builder to Utilize the custom fields
NOTE: Custom Fields can also be created within the Form or Survey Builder. They cannot be edited (permanently) or deleted within the Form or Survey Builder.
Step 3: Edit & Delete Custom Fields
- To either Edit or Delete A Custom Field, navigate back to Settings > Custom Fields
- Click on the Pencil Icon to Edit a Custom Field
- Click on the Trash Can Icon to Delete a Custom Field
Here you can also create Custom Field Folders and map fields within the folders.
- Custom fields can be moved to different folders helping keep track of your custom fields.
- These Folders will also show up in the contact Card to keep your data collection organized.
- You are also able to seamlessly restructure contact fields
NOTE: You can also drag and drop the fields to reorder how they are seen in a contact profile under “Additional Info”. Just click on the three horizontal lines on the far left side of each Custom Field and drop it in the order you want.